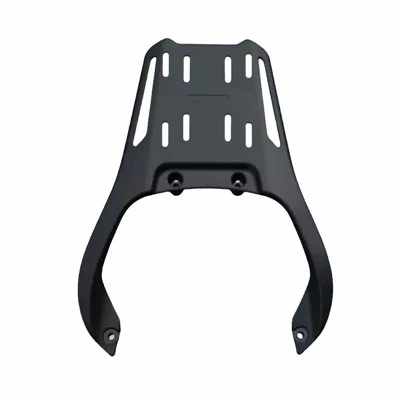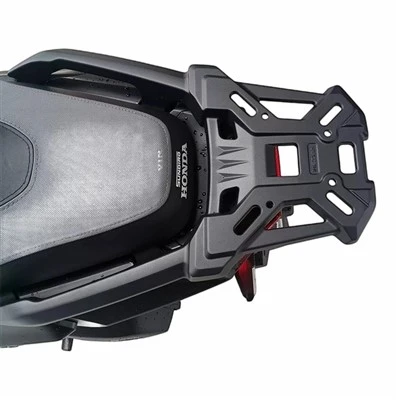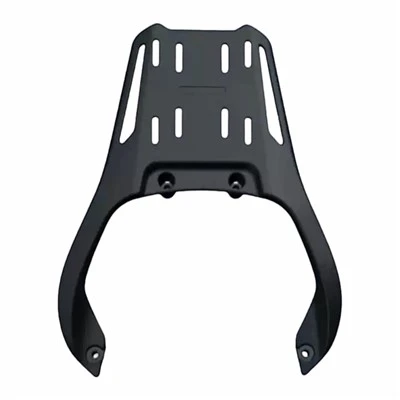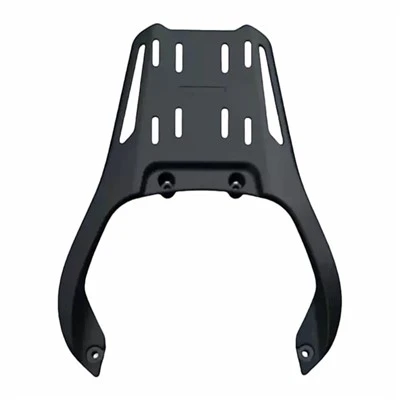

To modify the rear trunk bracket of Wuyang Honda, you can refer to the installation method of the trunk bracket of similar Honda models. You need to operate with caution and ensure that the installation is firm and compatible with the vehicle.
1. Preparation of materials and tools
Bracket selection: Prioritize the use of special brackets adapted to Wuyang Honda models. The material is recommended to be stainless steel 304 (such as Honda NWT150 bracket design) to ensure corrosion resistance and structural strength. If it is a universal bracket, you need to confirm that its hole position matches the original vehicle tail rack.
Auxiliary materials: screw glue (prevent loosening), aluminum alloy gasket (distribute pressure), torque wrench (precisely control screw tightening force), anti-rust lubricant (clean threads).
Tools: Socket wrench, Phillips screwdriver, Allen wrench, marker (to mark hole positions), level (to adjust the level of the bracket).
2. Installation steps
Disassemble original car parts:
Open the vehicle storage box and remove the screw decorative cover on the original tail frame (refer to Honda X-ADV operation).
Disassemble the armrests or fixings on both sides (if present) and retain the screws for subsequent restoration.
Bracket positioning and pre-assembly:
Place the new bracket on the original tail frame, align the holes and mark them with a marker (to avoid thread wear caused by repeated disassembly).
Apply screw glue to the threads, initially install the screws but do not tighten them, leaving room for adjustment (similar to the GSADV ADV350 tailstock installation requirements).
Adjustment and fixation:
Use a spirit level to check the level of the bracket and make sure there is no tilt after the tail box is installed.
Tighten the screws one by one, following the order of "small first, then large, first both sides and then the center" (such as Honda X-ADV method) to avoid local stress concentration.
Place aluminum alloy gaskets under the screw holes to disperse pressure and prevent metal friction.
Final check:
Use a torque wrench to tighten all screws according to the specifications in the instruction manual (such as Honda X-ADV requirements) to prevent thread damage caused by over-tightening.
Fasten the screw decorative cover and clean the installation residue.
3. Precautions
Adaptability verification: Before modification, confirm that the bracket matches the model year and tailstock structure to avoid installation failure due to hole position deviation.
Safety test: After the installation is completed, shake the bracket gently to check that there is no looseness; during the load test, gradually increase the weight and observe the deformation of the bracket.
Compliance with regulations: Some regions have regulations on the size and fixing methods of motorcycle trunks. You need to confirm in advance whether they meet the road requirements.
If you lack modification experience, it is recommended to contact a professional repair shop to ensure that the structural safety and vehicle warranty are not affected.